Minamoto no Yorimasa did not need a special pretext for his growing hostility toward the Taira clan to turn into open rebellion. The court also included the discontented Prince Motohito, the second son of the former Emperor Go-Shirakawa. He had already been passed over twice in the selection of the heir to the throne. The second time this happened was in 1180, when the young Antoku was enthroned. Thus, Kiyomori, the head of the Taira clan, became the emperor's grandfather.
The coronation of a three-year-old child so clearly demonstrated the machinations of the Taira clan that Motohito was ready to support any conspiracy. It was Yorimasa who pushed him to take this step and promised his help.
The conspiracy and the first steps
As during the uprising of 1160, the conspirators chose a moment when Kiyomori and his grandson, the emperor, had left Kyoto. According to tradition, the new ruler had to visit the country's shrines. Usually, these were the monasteries of Nara and Mount Hiei, but since Antoku was a puppet of Taira, he was taken to Itsukushima, the clan's favorite shrine. This gave the conspirators a chance to enlist the support of the warrior monks.
Convinced that the capital was left without Kiyomori, Prince Motohito wrote letters to his supporters calling for an uprising.
Suspicions and escape
A copy of the letter reached Minamoto no Yoritomo, the eldest son of Yorimasa, who was living in exile in Izu. But he carelessly let it slip, and the conspiracy became known to Taira's spies. Soon, samurai began searching the prince's house in Kyoto. However, Motohito had already fled, seeking protection from the monks of Miidera.
Unaware of the full extent of the conspiracy, Kiyomori ordered Yorimasa to attack Miidera and capture the prince. Then Yorimasa revealed his true intentions: he burned down his own house in Kyoto and, together with fifty loyal men, joined Motohito.
Waiting for allies
The conspirators' plan was falling apart, but they needed to hold out until the rebellion spread to the eastern lands. Yorimasa's small detachment and the monks of Miidera could hardly withstand Taira's army of 20,000 (according to the Heike Monogatari). Their only hope was for support from other monasteries.
Letters were sent to Enryaku-ji, whose monks Kiyomori had recently bribed, and to Kofuku-ji in Nara, from which a promise of help arrived. Yorimasa proposed a night attack on Rokuhara, where Taira's headquarters were located. Strong winds would allow them to set fire to the buildings and possibly even capture Kiyomori. But the plan was rejected. It was decided to retreat to Nara and join forces with the monks of Kofukuji.
Retreat to Uji
At dawn, a small detachment of only about three hundred warriors and monks left Mount Hiei and headed south. The road to Nara crossed the Uji River. The bridge over it was of great strategic importance: the river served as a natural defense for Kyoto.
Upon reaching Uji, the prince, exhausted from his flight, stopped at the Byodoin monastery, famous for its Phoenix Hall. Yorimasa sent out scouts, removed part of the bridge's decking, and waited to see who would appear first — Taira or his allies from Nara.
Battle on the bridge
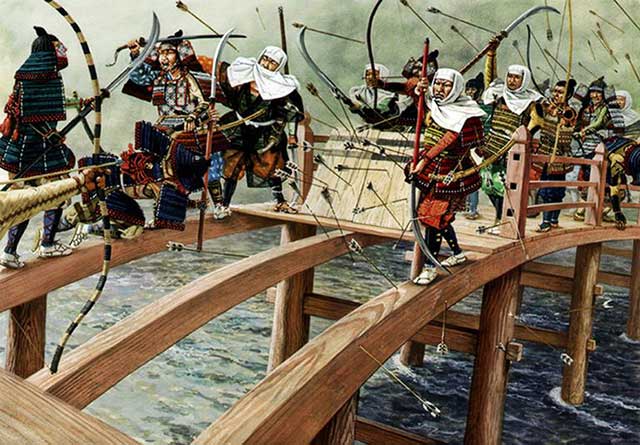
At dawn, Taira's troops appeared on the north bank. In the fog, they let out a battle cry, and immediately a battle ensued. Taira rushed across the bridge but fell into a trap. Arrows whistled over the river: the monks were skilled archers. Yorimasa even took off his helmet to make it easier to draw the bowstring.
The bravest monks rushed onto the bridge beams. Tajima, who later earned the nickname “Arrow Breaker,” repelled the hail of arrows with his naginata. He was followed by Jomyo, who killed two dozen enemies. After him, Ichirai Hoti rushed in, jumping over his comrade in the heat of battle.
The battle on the bridge lasted all day. The beams were hidden under the bodies of the fallen. The wounded threw themselves into the river, and the heads of the enemies became trophies. However, help from Nara never came.
The crossing and the fall of Minamoto
The Taira commanders hesitated, but 18-year-old Ashikaga Tadatsuna decided to wade across the river with his troops. Others followed his example, and soon the Taira broke through to the south bank.
A fierce battle ensued at the gates of Byodoin. Prince Motohito tried to flee while Yorimasa and his sons held back the onslaught. Yorimasa himself was wounded by an arrow in the elbow, and his sons Kanetsuna and Nakatsuna fell in battle. Holding back the enemy, they gave their father the opportunity to commit seppuku, a form of suicide that became the model for the samurai code.
The demise of the conspiracy
After the fall of Minamoto, Taira's troops pressed on. Prince Motohito was caught up with and killed at the gates of a Shinto shrine. His body was riddled with arrows.
Only a few hours later, seven thousand warrior monks marched out of Nara, but upon learning of the defeat, they returned to their monasteries. The Taira entered Kyoto triumphantly, carrying the heads of the prince and Yorimasa's sons.
The outcome of the first battle of the Genpei War
The Battle of Uji on June 20, 1180, marked the tragic end of the first stage of the Genpei War. The call to arms had not yet reached the eastern lands, and the rebellion was suppressed. Prince Motohito was killed, and the uprising, barely begun, ended in a bloody defeat.
See also
-
The Siege of Hara Castle

The Shimabara Rebellion of 1637–1638, which culminated in the siege of Hara Castle, was the last major uprising of the Edo period and had serious political consequences.
-
Battle of Tennoji
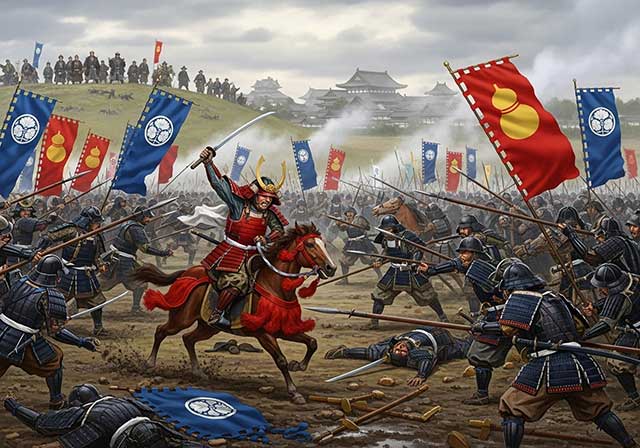
The confrontation between Tokugawa Ieyasu and Toyotomi Hideyori during the “Osaka Winter Campaign” ended with the signing of a peace treaty. On January 22, 1615, the day after the treaty was signed, Ieyasu pretended to disband his army. In reality, this meant that the Shimazu forces withdrew to the nearest port. On the same day, almost the entire Tokugawa army began filling in the outer moat.
-
Siege of Shuri Castle
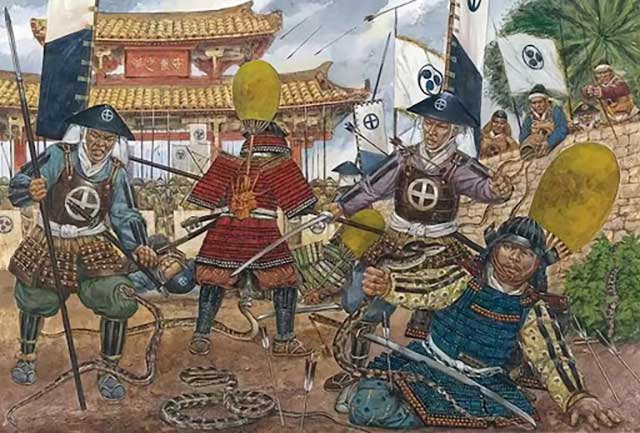
The Ryukyu Kingdom was established in 1429 on Okinawa, the largest island of the Ryukyu (Nansei) archipelago, as a result of the military unification of three rival kingdoms. In the following years, the state's control spread to all the islands of the archipelago.
-
The Siege of Fushimi Castle
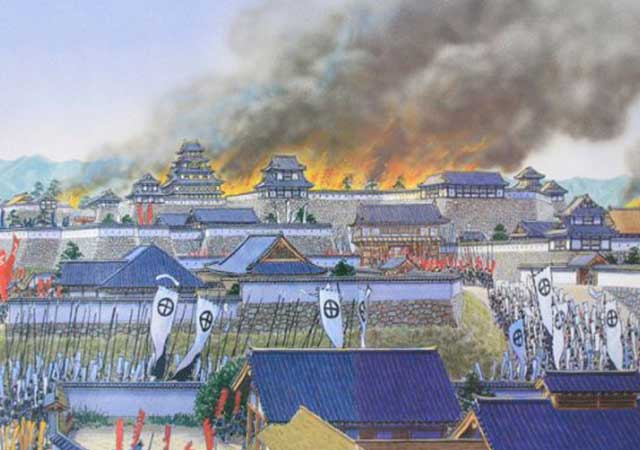
Fushimi can perhaps be considered one of the most “unfortunate” castles of the Sengoku Jidai period. The original castle was built by Toyotomi Hideyoshi in the southeast of Kyoto in 1594 as his residence in the imperial city.
-
The Siege of Otsu Castle
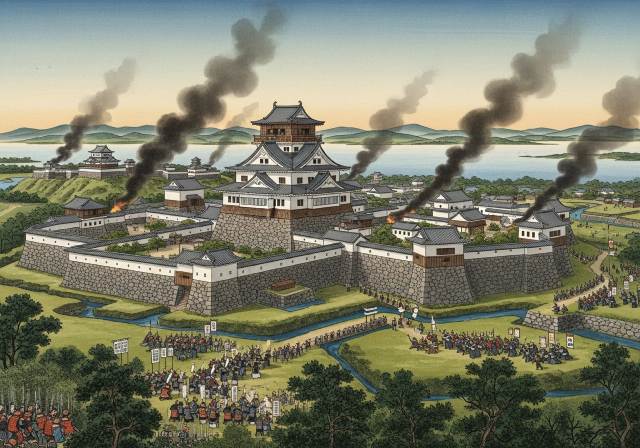
The siege of Otsu Castle was part of the Sekigahara campaign, during which the so-called Eastern Coalition, led by Tokugawa Ieyasu, fought against the Western Coalition, led by Ishida Mitsunari. Otsu Castle was built in 1586 by order of Toyotomi Hideyoshi near the capital Kyoto, on the site of the dismantled Sakamoto Castle. It belonged to the type of “water castles” — mizujō — as one side of it faced Japan's largest lake, Lake Biwa, and it was surrounded by a system of moats filled with lake water, which made the fortress resemble an island.
-
The Siege of Shiroishi Castle
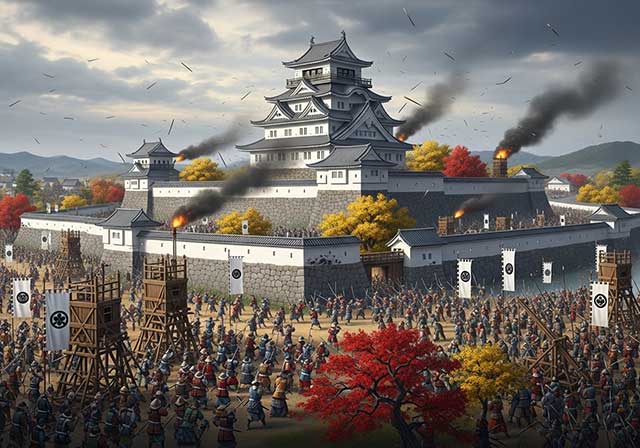
The siege of Shiroishi Castle was part of the Sekigahara campaign and took place several months before the decisive battle of Sekigahara. The daimyo of Aizu Province, Uesugi Kagekatsu, posed a serious threat to Tokugawa Ieyasu's plans to defeat the Western Coalition, and Ieyasu decided to curb his actions with the help of his northern vassals. To this end, he ordered Date Masamune to invade the province of Aizu and capture Shiroishi Castle.
-
The Second Siege of Jinju Castle
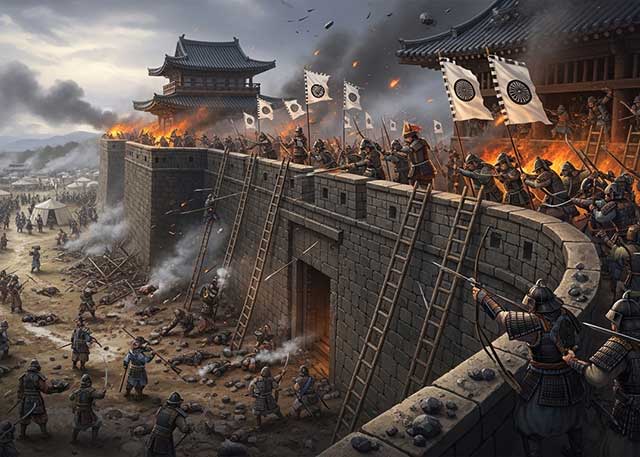
During the two Korean campaigns of the 16th century, the Japanese repeatedly had to capture enemy fortresses and defend occupied or constructed fortifications from the combined Korean and Chinese forces. Among all the operations of that time, the second siege of Jinju Castle is considered the most interesting from the point of view of siege warfare.
-
The Siege of Takamatsu Castle
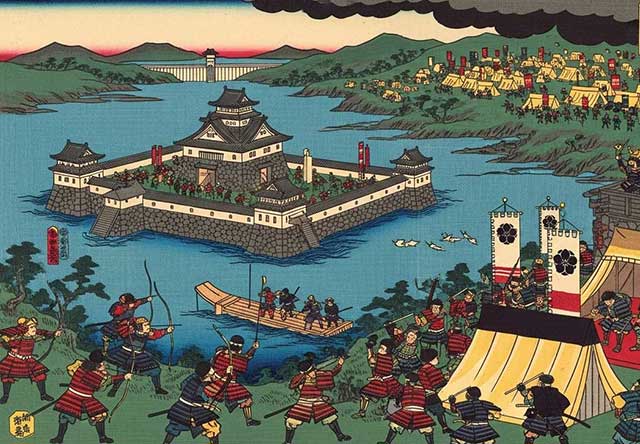
The siege of Takamatsu Castle in Bitchu Province is considered the first mizuzeme, or “water siege,” in Japanese history. Until then, such an original tactic had never been used.

